Comprehensive Guide for Installing a Sturdy Roof Frame

When constructing a house or any other type of structure, one crucial element that cannot be overlooked is the roof. Therefore, it’s essential to pay close attention to the guide for installing a roof frame, ensuring that the roof can function optimally.
Of course, you desire a roof frame that is strong, durable, safe, and stable. That’s why it’s important to read through the following explanation completely, in order to understand the comprehensive guide for installing a sturdy roof frame!
Preparations Prior to Installing Roof Frame
There are several options for materials to construct the framework for a building’s roof, with lightweight steel being one of the choices. Before commencing the installation of the lightweight steel roof framework, there are a number of essential preparations to undertake. The subsequent steps outline these preparations; it’s important to listen attentively and adhere to them diligently.
- Estimating the Need for Lightweight Steel
The initial step involves estimating the necessary amount of lightweight steel material required to construct the roof framework.
To accomplish this estimation, one should create a visual representation and measure the roof’s volume in the house.
Using this visual representation, it becomes possible to gauge the quantity of lightweight steel material essential for completing the roof framework’s construction.
It’s crucial to ensure precise calculations to avoid disruptions in subsequent phases. After the calculations are complete, you can proceed to prepare the materials as determined.
- Constructing the Structural Support
Once the calculations are finalized, the subsequent task involves both installing and fabricating the supportive structure. This structure primarily consists of columns that play a crucial role in ensuring the enduring stability and safety of the roof framework.
- Determining the Coverage Area
The subsequent step involves calculating the land area that will eventually be covered, a factor that should be tailored to meet the specific requirements.
The outcome of multiplying the length by the width of this section will prove crucial in approximating the installation of roof trusses within the framework.
Additionally, it’s vital to confirm that the height of the canopy posts doesn’t exceed a range of three to four meters.
Following this, the affixed steel framework must be placed side by side or installed in two perpendicular layers—one on the right and another on the left. This arrangement is designed to ensure the structural robustness and steadiness necessary to support the roof’s weight effectively.
- Calculating the Slope Level
Moving forward, the subsequent action involves gauging the degree of slope, a task that necessitates precise and meticulous measurement.
The suggested slope angle falls within the range of 25 to 30 degrees. By adopting this range, rainwater is discouraged from accumulating on the roof, facilitating efficient drainage.
The selected slope angle can exert a substantial impact on the roof’s effectiveness in shielding both the structure and its inhabitants.
- Assessing the Maximum Amount
Before you begin installing the roof frame, it’s crucial to calculate the expected load that will be placed on it. This calculation directly affects the strength requirements for the roof trusses.
To ensure stability, the components of the roof trusses need to be firmly secured and well-balanced, and it’s also important to incorporate dynabolts or anchors at the points where they are supported.
- Gathering the Essential Tools
Moving forward, it’s essential to assemble the array of tools required for installing the roof framework.
Ensure you have lightweight steel, an electric drill, battens, batten screws, specialized shears for lightweight steel, a square ruler, and a measuring tape all at hand. These tools will play a pivotal role in the installation process, so be meticulous in ensuring none are overlooked.
Moreover, it’s imperative to equip yourself with proper personal protective gear. Items like safety glasses, gloves, and a helmet are imperative to ensure your safety during the work.
Additionally, since the installation work will be conducted at a considerable height, paying special attention to safety is paramount. Consider using a safety belt or a full-body harness if necessary to enhance security during the installation process.
Guide for Installing the Roof Frame
Once all the aforementioned preparations have been carried out and completed, you can now move on to the stage of installing the roof framework for the building. Here, we offer a more detailed explanation for each step of the framework installation process.
- First Step, Achieving Level Alignment
To kickstart the installation of the roof framework, the primary focus lies on establishing a level alignment. This entails fine-tuning the ring beams to ensure their evenness and perpendicularity.
To simplify this task, you can utilize a water level hose along with a square ruler. It’s crucial to ensure secure attachment of all materials to the base frame and to ensure proper connections.
Subsequently, proceed to measure the gap between each truss. Markers can be employed to ensure that the eventual outcome harmonizes precisely with the intended arrangement illustrated in the initial drawings.
- Framework Assembly and Truss Installation
Once the leveling stage is completed, you can proceed to the task of arranging the framework and installing the trusses. This phase holds immense significance for installing the roof framework, ensuring that the eventual function of the building’s roof is at its best.
The following steps outline what you need to do to effectively put together the framework and securely fit the trusses in place:
- Ensure Proper Truss Orientation: Before proceeding, double-check that the trusses on both the left and right sides of the roof framework are correctly positioned, allowing for precise installation.
- Vertical Alignment Verification: Employ a level and string to establish and confirm that the trusses are vertically aligned when viewed from the ring beams.
- Secure Trusses with Sturdy Fasteners: Utilize screws sized 12 – 14 x 20 along with L brackets to securely fasten the truss segments that have been carefully arranged.
- Enhance Stability with Dynabolts: To prevent any unintended shifting of the truss positions, reinforce the L brackets with dynabolts. Additionally, introduce temporary beams for added support.
- Check and Adjust Spacing: With all truss sections in place, meticulously review the spacing between them. Ensure that each gap is accurate and visually aligned.
- Alignment with Ridge Line: Verify that the ridge line aligns seamlessly with the truss sections, ensuring consistent straightness.
- Attach the Ridge Beam: Once the alignment and stability are confirmed, proceed to securely attach the ridge beam.
- Strengthen Upper and Lower Sections: Enhance structural integrity by using appropriate fasteners to reinforce both the upper and lower sections of the framework.
- Uniformly Space Purlins: Subsequently, install the purlins at consistent intervals, maintaining uniform spacing to accommodate the intended roof cover.
- Final Stage, Inspection
Upon completion, the next step is to conduct an inspection. Ensure that the roof framework has been installed properly and securely for safe use.
Verify that the installation of the rafters aligns with the roof’s sides and the flatness of the ridge. Additionally, ensure that there is no rust or corrosion on any of its components.
Various types of debris should also be ensured to be absent. Install a clean roof structure, as its cleanliness is crucial for its durability.
The proportions of the framework should also be taken into consideration, as they can affect its stability. With proper techniques and proportions, you can create a robust and strong roof structure.
Once the roof framework is in place, you can proceed to install the roof covering. The installation will vary based on the type of roofing material you have chosen.
This is a guide for installing a roof framework that you can follow when using lightweight steel materials. Proper installation is crucial because the framework can significantly impact the final quality of the roof.
Given the crucial role of the roof, it’s essential not to rush or overlook any of the installation steps. Pay careful attention to each phase and prioritize safety throughout the installation process.
In addition to discussing the techniques for installing the roof framework, it’s equally important to choose the right materials. Also, consider opting for the top-notch roofing options from Djabesmen, suitable for both wooden and metal roof frameworks!
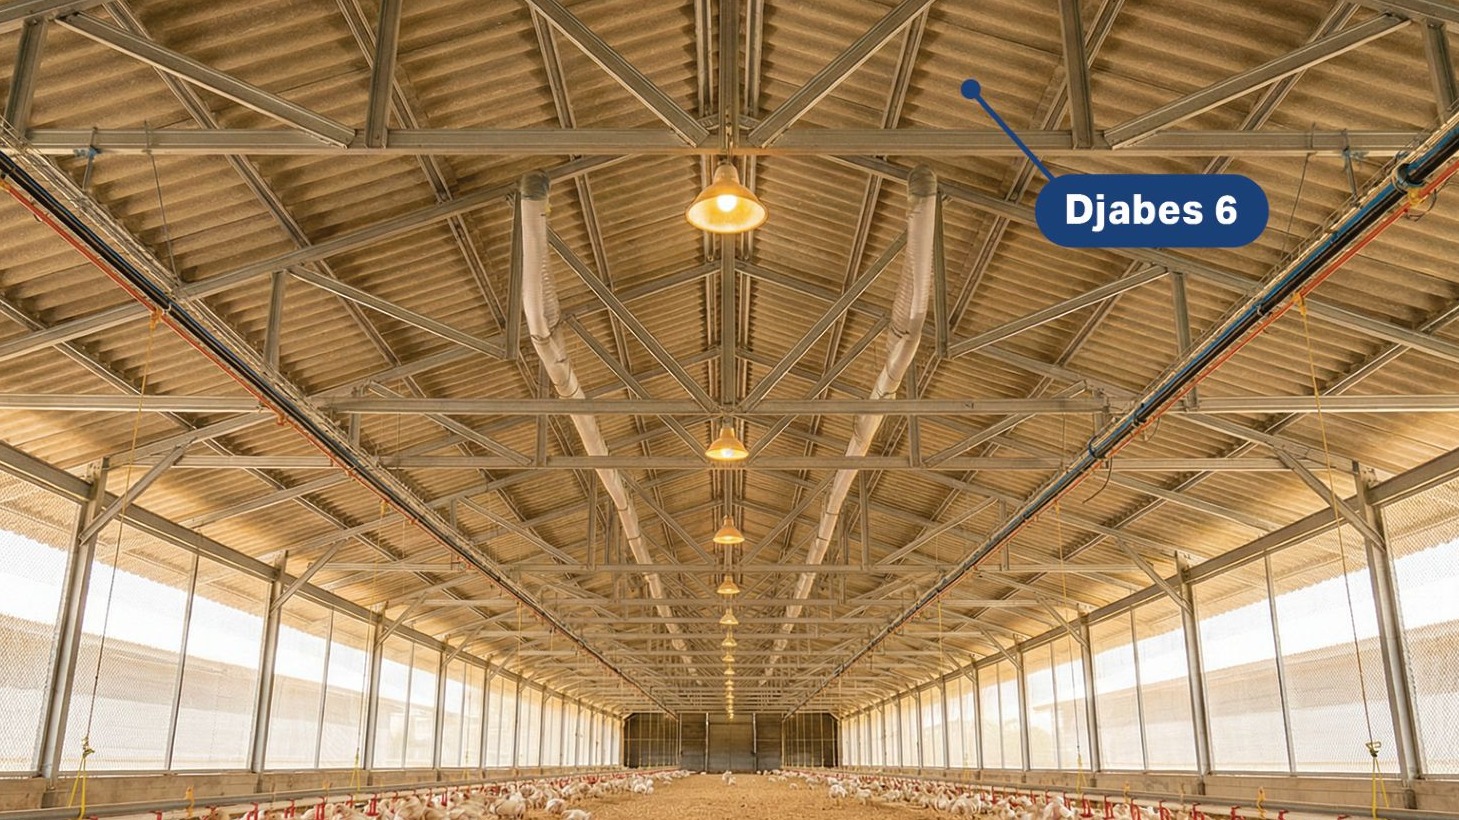
Bagaimana Atap Kandang Ayam Mempengaruhi Suhu dan Produktivitas?
Atap kandang ayam mempengaruhi suhu karena material dan desainnya menentukan seberapa besar radiasi panas masuk ke dalam kandang.
Baca Selengkapnya arrow_right_alt
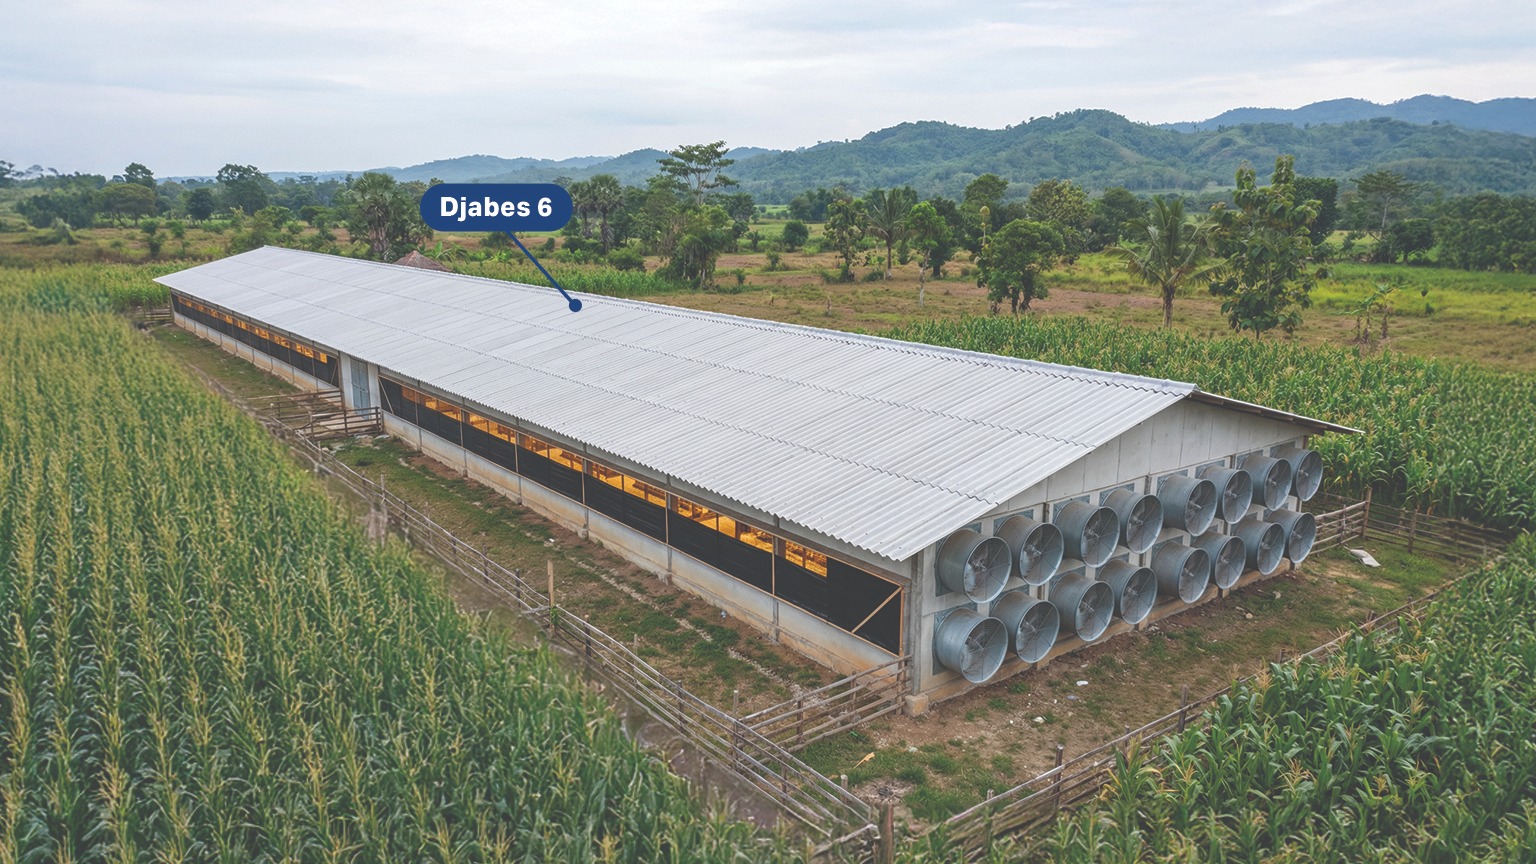
Apa Jenis Atap Terbaik untuk Kandang Ayam? Ini Perbandingan Lengkapnya
Atap fiber semen menjadi pilihan paling stabil untuk kandang ayam di iklim tropis karena memiliki konduktivitas panas lebih rendah dibanding atap metal dan lebih tahan lembap dibanding atap semen konvensional
Baca Selengkapnya arrow_right_alt

3 Jenis Atap Rumah Terkuat yang Paling Diminati
3 Jenis Atap Rumah Terkuat yang Paling Diminati
Baca Selengkapnya arrow_right_alt

Kenali Ciri Atap Fiber Yang Kuat Untuk Rumah
Kenali Ciri Atap Fiber Yang Kuat Untuk Rumah
Baca Selengkapnya arrow_right_alt